How to use Non-Destructive testing techniques
NDT Jobs are a category of roles within nondestructive inspection of aircraft maintenance.
It is the examination of aircraft and engine material without affecting functionality and quality.
Called NDI or NDT for short, the best-known everyday example you might have seen is the ultrasonic pregnancy test. Where ultrasound imaging shows the human fetus in the mother’s womb.
Aviation Non-Destructive Testing Applications
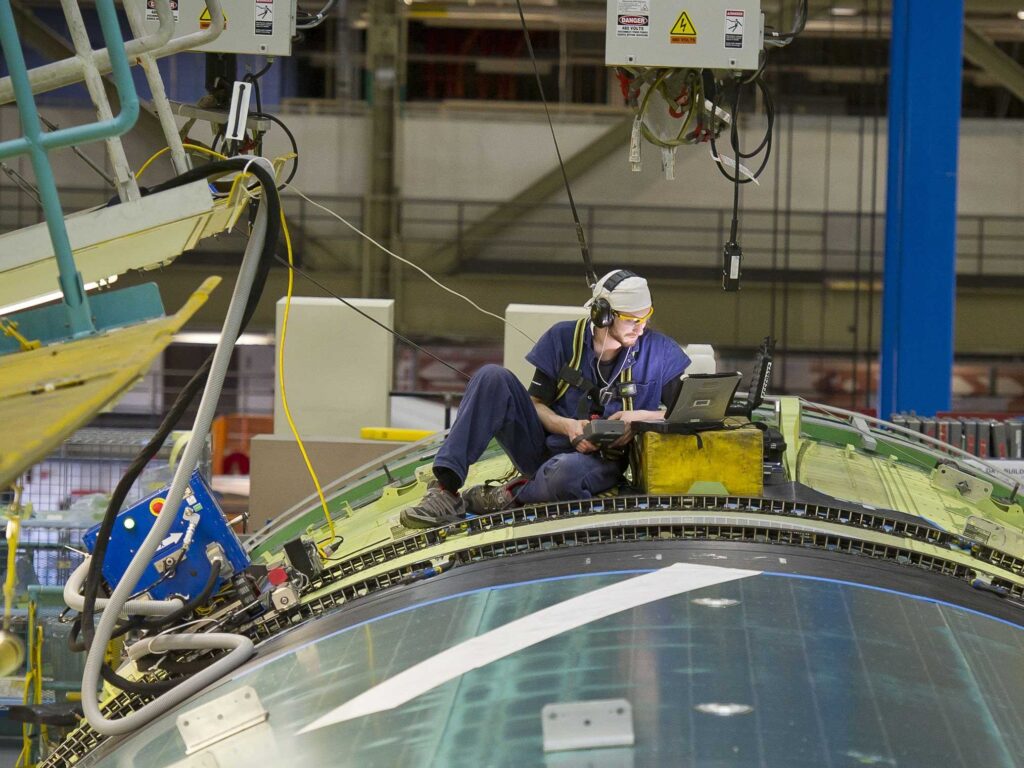
According to Aviation safety regulations, all manufacturers must perform Non-destructive inspections of all primary structures before installation. Wing sections, fuselage panels, control surfaces and landing gear components are all inspected using NDI methods.
And it doesn’t stop there. All aircraft will have thousands of NDT evaluations over their lifespan. So, if you are a budding engineer or mechanic, expect to get this training.

Six Non-Destructive Inspection Categories
The following techniques will be skills you will learn or train on structures and materials. In some cases, you will use two or even three in the same area. And you will do them out in the field.
There are six main categories of Non-destructive testing used in aircraft manufacture and “checks” or inspections. They are all applicable to both metal and composite testing alike. Except one, the Eddy Current flow technique – as composites do not conduct electricity and respond only to electromagnetic radiation.
So, let’s get to it! We will also link to some training providers where you can source the training, the equipment used or the testing services provided. So you can investigate this field further should you wish. You can also go to the American Society of Non Destructive Testing.

Industry NDT Job Methods
The Six NDI techniques
- Visual Inspections (visual testing)
- Tap test
- Ultrasonic Testing
- Radiography
- Thermography
- Liquid dye penetrant
Visual Inspection (& Tap Testing)
Initial testing of aircraft components could be the tap test. A simple technique by careful examination by eye. Often assisted with a magnifying glass. It is always the first step in any NDI method and can identify obvious signs of damage.
A tap hammer or even a coin can be used for repeated testing of a surface. The ringing noise changes pitch as the tapping moves across an area. In metals “dull” sound waves are heard compared to higher pitch sounds in composite materials.

A drawback to tap testing is its subjectivity. But instrumented tap testing devices are more sensitive.
NDT Jobs - Ultrasonic Testing
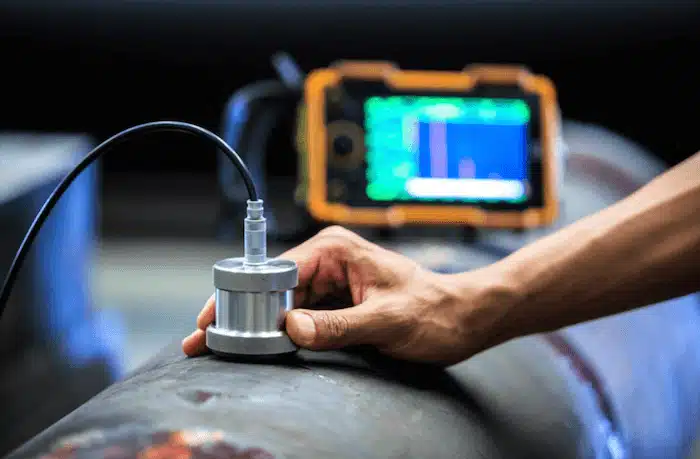
For airframe and engine component testing in the Aerospace sector ultrasonics are widely used. UT is used to detect corrosion and fatigue in metals and delamination or porosity in composites. The process involves the transmission of ultrasonic pulses through the material using a Piezoelectric Transducer.
When sound waves encounter a region with an acoustic impedance different from the bulk material, these waves are reflected and scattered. This reflection is then picked up and converted into an image.
When sound waves encounter a region with an acoustic impedance different from the bulk material, these waves are reflected and scattered. This refection is then picked up and converted into an image.
Ultrasonic methods used in Aerospace
The “Pulse Echo Mode” – using a single transducer on one side of the material it both radiates and receives the acoustic waves. It works by measuring the signal’s time of flight and converts it into an electrical signal. An oscilloscope will display the fault. Pulse echo is the preferred method in our Industry because it is the most portable in the field.
Current Testing
“Through Transmission Mode” – Two transducers are used to generate sound waves. The second (on the opposite side) to receive the acoustic waves. When the receiving transducer gets a weaker signal this can be due to damage blocking the waves. This method is more suited to Aerospace assembly during manufacture.

Radiography
Uses Radiographic Testing methods such as X-Rays, Gamma Rays, or high-speed neutrons to detect damage. An x-ray tube directs energy at a test piece. With a film or plate on the other side. The absorption value of the rays is much lower than the unaffected material. The plate or film detects the anomalies.
It is necessary to create a composite or orientation of radiation angles to observe cracks or voids. Because the image (or result) is in a single plane of view only. If you require very high resolution scans for Industrial Radiography, you need to use X-Ray microtomography.
Another example is at airports. Screeners use Wide Range Tomography machines to scan the packed contents of passenger baggage.
Thermography
Used for rapid wide area inspections of components. in the Aerospace Sector there are two types – Active and Passive. Active applications being the far more common method.
Active – Involves the short-duration heating of the surface of the component using heated air or flash tubes. Engineers observe cooling rates and measure areas of concern, which will be areas that cool at inconsistent rates. This is due to air gaps such as cracks or delamination’s in composites absorbing less heat than parent material.
This causes the surface material over the damage to be slower cooling down than the internal structure. Inspectors also use infra-red cameras to detect damage “hot spots”. They determine the depth of the damage by processing the temperature data as a function of time.
Liquid Dye Penetrant Tests
NDT experts use Penetrant Testing on material to detect surface cracks. But they cannot use it to detect sub-surface damage. Which is its main drawback. But it’s a simple and inexpensive way to detect cracks up to 2mm over a broad range of metals.
Penetrant Testing
They apply dye with a spray and capillary action causes the dye to seep into cracks. When you wipe it off, the dyed cracks will remain.

Structural Health Monitory (SHM)
So, what can we do in the Aerospace sector other than periodically schedule inspections of major components and vessels of an aircraft? Academia for one is investigating a new area of Non-destructive testing called SHM, or Structural Health Monitoring.
In the field of NDT testing, SHM is not yet fully mature. And we have yet to see any applications in fixed or rotary wing aircraft. But it does exist in other industries and holds some promising techniques. How does it work?
Similarly, to the human nervous system, the plan is to install a complex monitoring system of piezoelectric sensors, optical fibers, or acoustic emission monitoring devices.
Non-Destructive Testing
These constantly look for issues as they happen in real time. Changes in pitch, magnetic field, or wave testing of the component will alert the system and then aircraft operators to an issue. This would both reduce the need for constant inspections but also allow us to get Non-destructive Testing into critical areas where access is difficult or impossible.
Overall the SHM system will allow us to improve the continuous life-cycle management decisions around aircraft and component inspections reducing downtime and allowing us to improve design around safety factors and damage tolerance.

